
DIY Floating Shelves for Minimalist Aesthetic
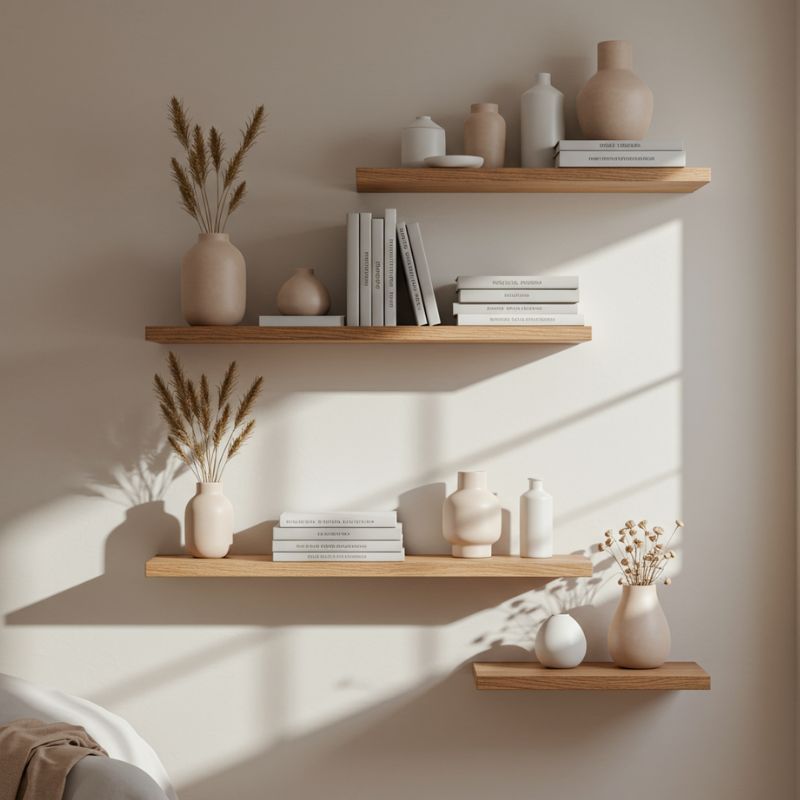
There’s something deeply calming about a minimalist space. The clean lines, the open air between objects, the intentionality behind every piece. And if there's one element that blends function and style seamlessly, it’s floating shelves.
Floating shelves give a sense of weightlessness. They lift your decor without overwhelming the room. They’re versatile, modern, and — best of all — they can be made with your own hands.
In this guide, I’ll show you how to build your own minimalist floating shelves, step by step. Whether you're styling a living room, bathroom, kitchen or reading nook, these shelves will elevate your space with quiet beauty.
Why Floating Shelves for Minimalist Design?
Floating shelves embody the core of minimalist design: simplicity, function and form. Here’s why they’re ideal for a minimalist aesthetic:
- They free up floor space, making the room feel open and calm
- They create visual balance, framing small collections or singular objects
- They reduce clutter, as they demand intentional styling
- They add structure, without overwhelming with bulk or heaviness
Their beauty lies in their subtlety.
Tools & Materials You’ll Need
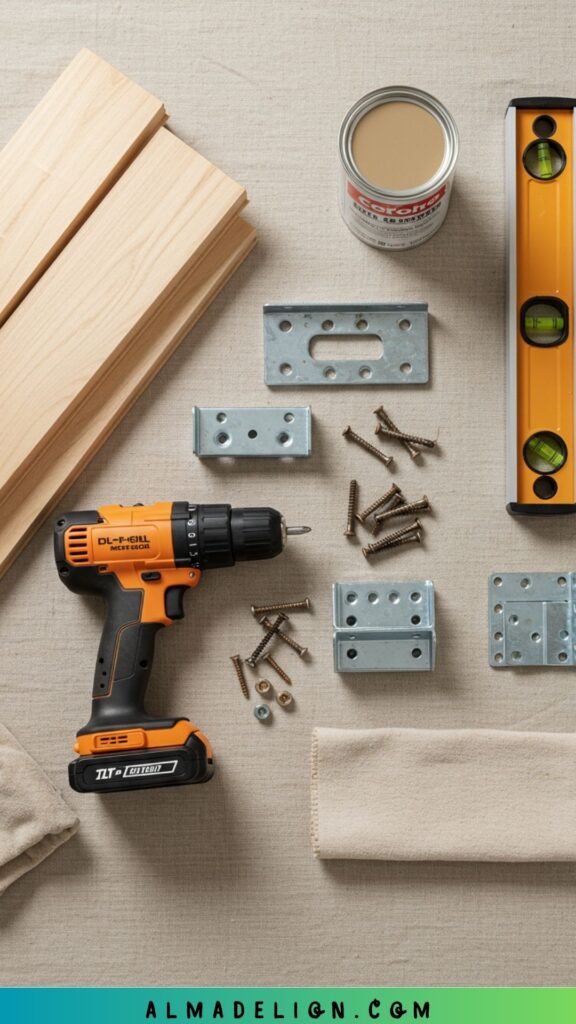
Before you begin, make sure you have everything ready:
Materials:
- Wood boards (solid pine, oak or walnut work beautifully)
- Floating shelf brackets or hidden wall supports
- Wall anchors and screws
- Wood filler (optional)
- Sandpaper
- Stain or paint (depending on finish desired)
- Clear sealant
Tools:
- Level
- Drill and screwdriver
- Stud finder (if available)
- Measuring tape
- Cloth for staining
- Paintbrush (for sealant or paint)
- Sander or sanding block
How to Build Your DIY Floating Shelves
Let’s walk through the steps to create clean, secure, and minimalist shelves from scratch.
Step 1: Measure and Mark
Choose your wall and measure where the shelves will go. Mark with a pencil, using a level to ensure everything is straight and evenly spaced.
Step 2: Install Brackets or Supports
Use a stud finder to locate the studs. Drill your floating shelf brackets into the wall, or use heavy-duty wall anchors if studs are not accessible. Make sure everything is aligned and secure.
Step 3: Prepare Your Wood
Sand the wood thoroughly. If you want a natural, raw look, leave it as-is and seal with a matte finish. If you want a richer tone, apply stain evenly with a cloth, wipe off excess and let dry.
Step 4: Attach the Shelves
Once the wood is ready and the supports are installed, slide the shelves onto the brackets. Most floating shelf systems lock in place with hidden screws — double-check everything is tight and level.
Step 5: Seal and Style
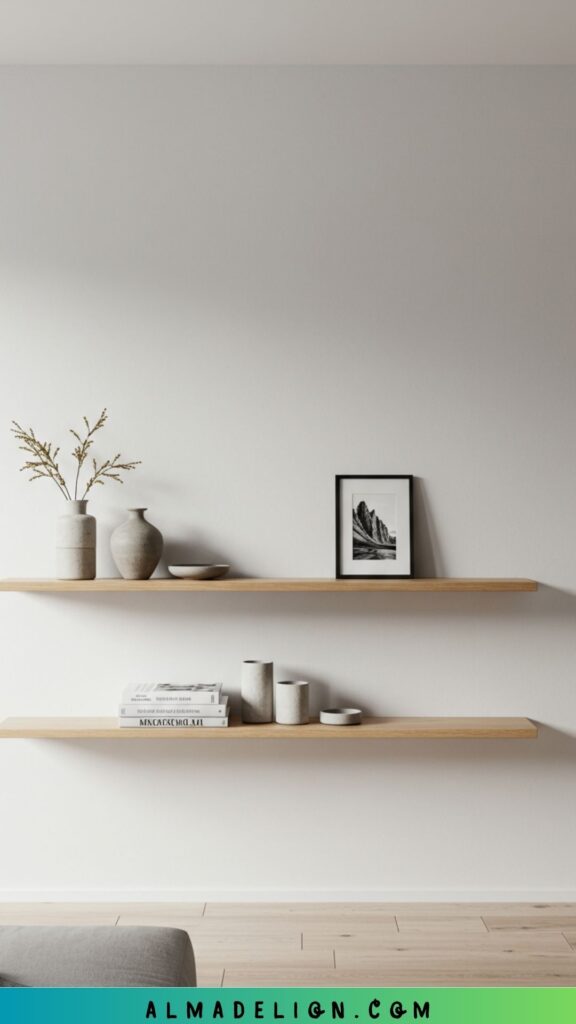
Apply a coat of sealant to protect the wood (especially in kitchens or bathrooms). Once dry, style with restraint. A single vase, a small stack of books, a framed print — let the shelf breathe.
Styling Tips for a Minimalist Look
- Leave negative space around each item
- Use a limited color palette
- Mix matte and natural textures: wood, ceramic, linen, glass
- Keep it functional, not decorative overload
- Reassess regularly and remove anything that doesn’t serve or inspire
Floating shelves are a canvas. The minimalist approach turns them into an art piece.

Final Thoughts
Minimalism is not about having less. It’s about making space for what matters.
With these DIY floating shelves, you’re not just adding storage — you’re creating presence. You're giving your walls breath, your room balance, and your objects the quiet spotlight they deserve.
Build them slowly. Style them intentionally. And let them reflect your own rhythm.

Deja una respuesta